
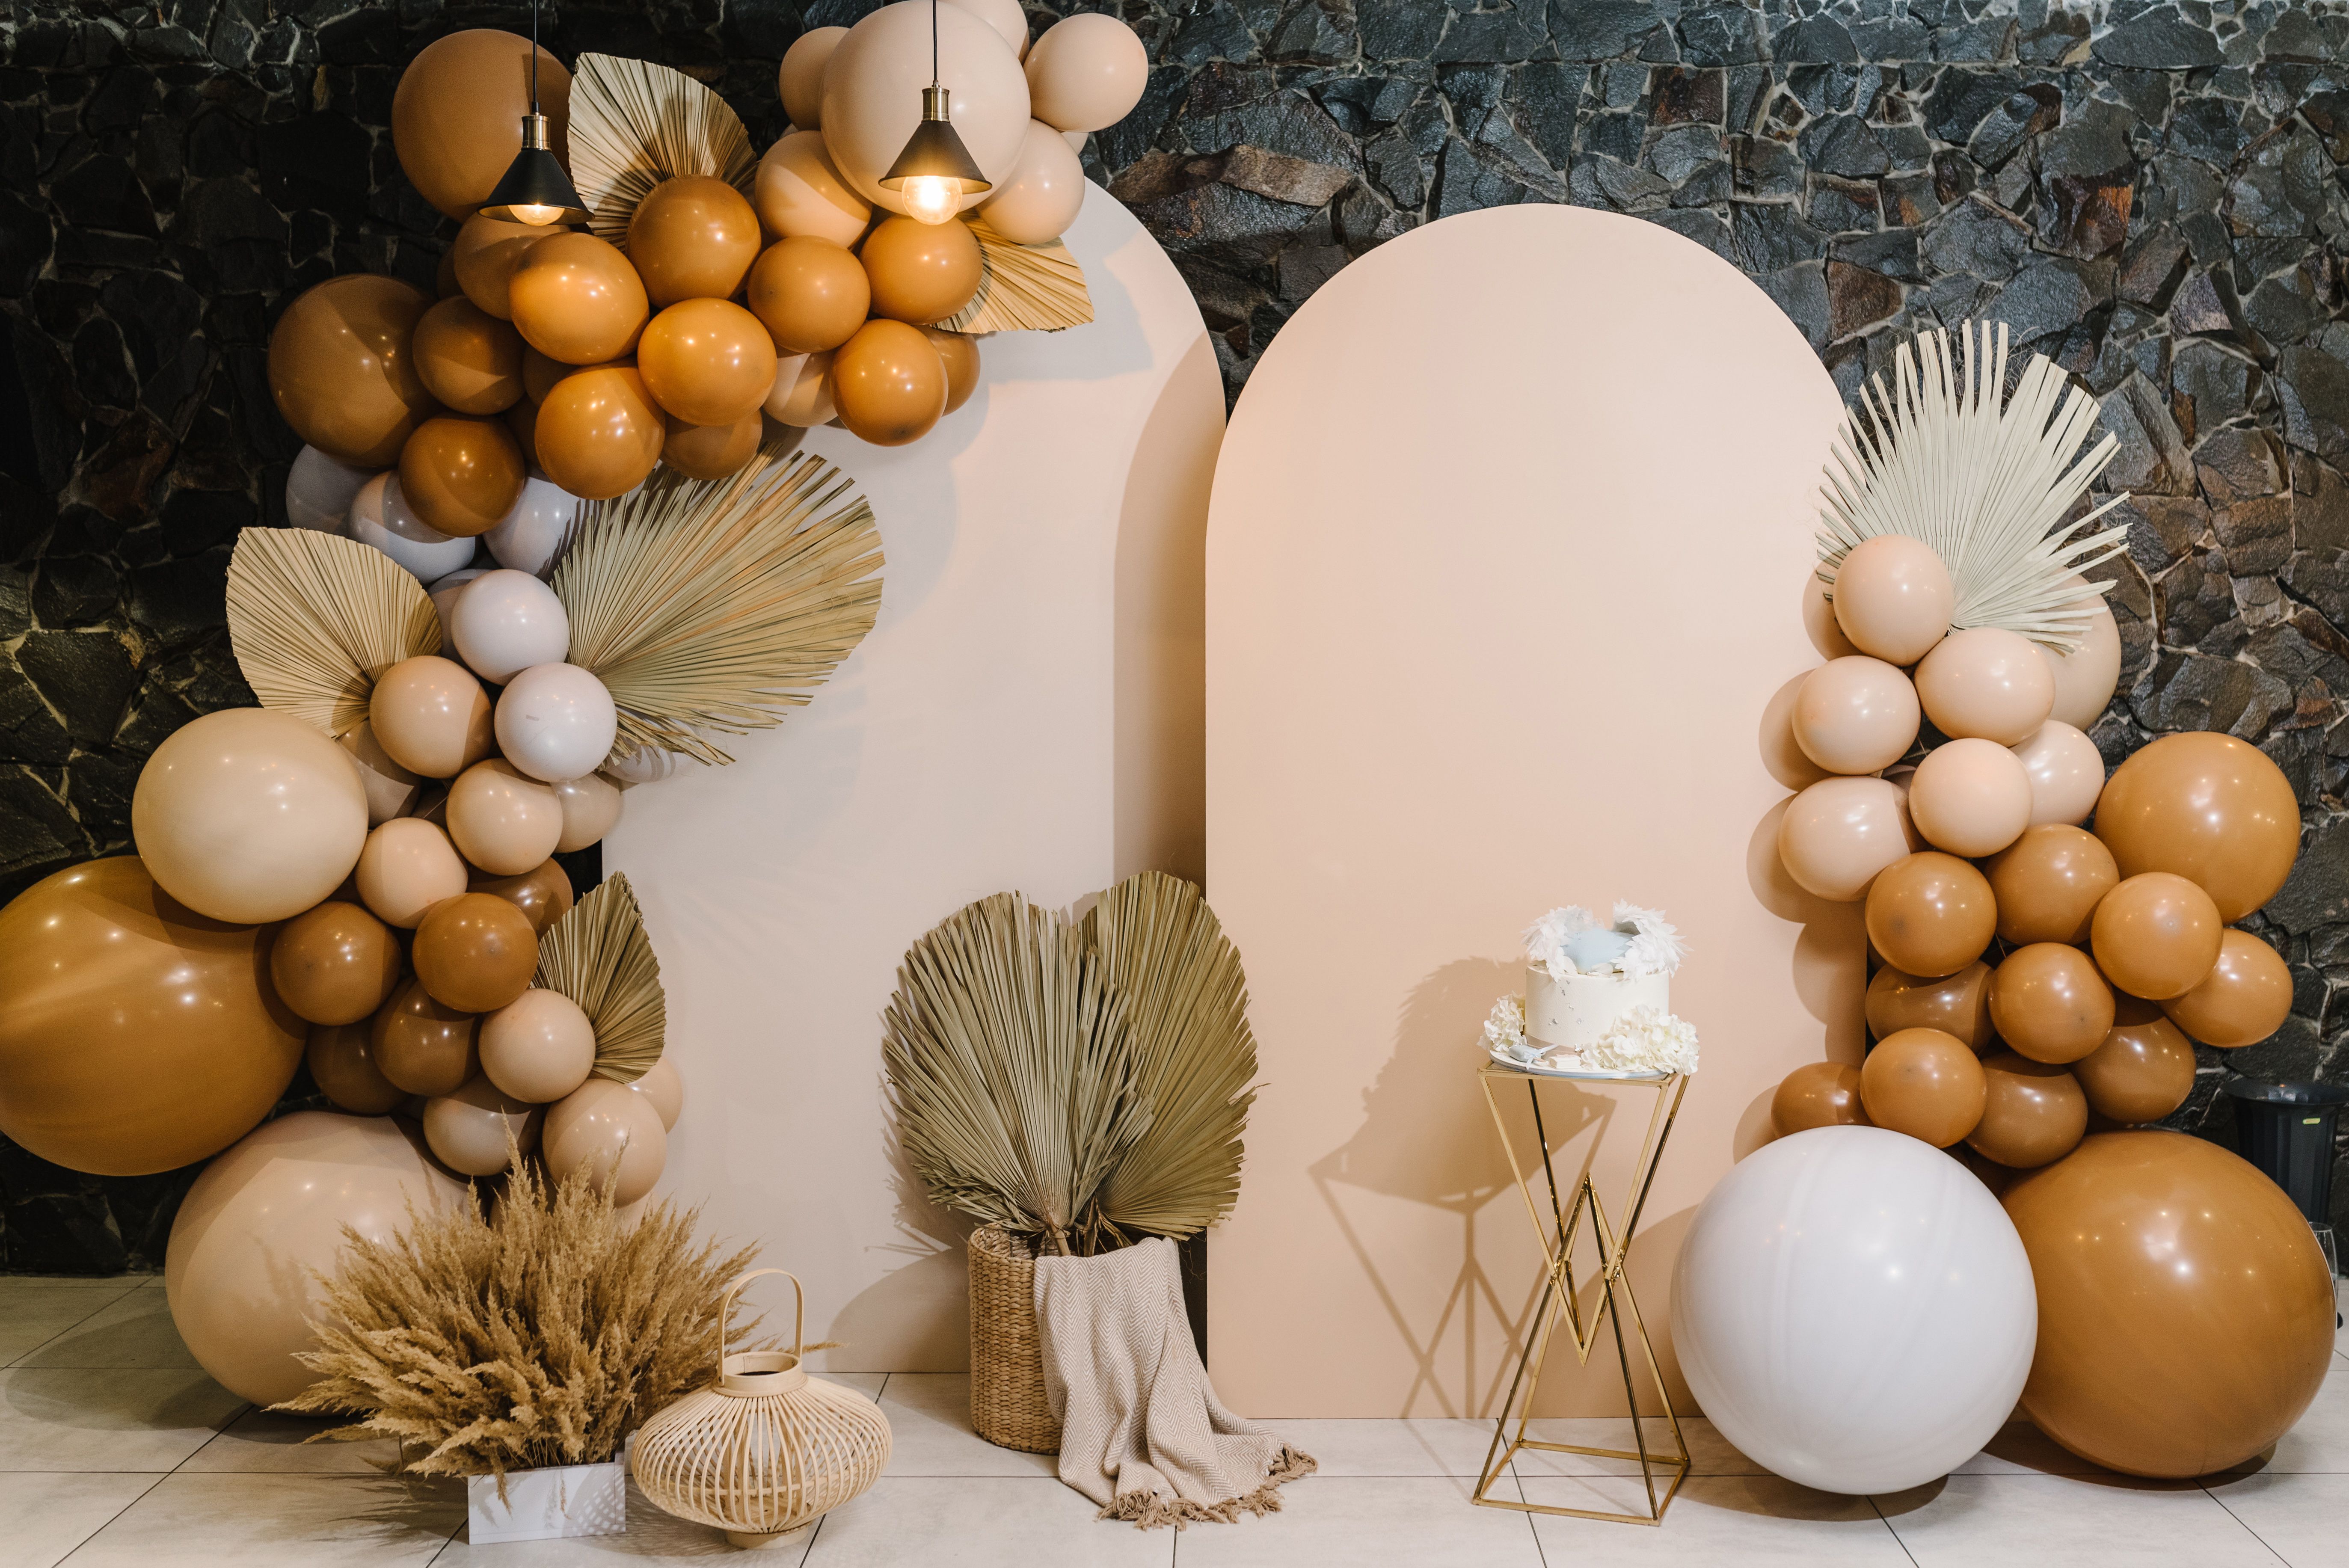
DIY Balloon Arch Tutorial: Create Your Own Spectacular Decor
Creating a stunning balloon arch is a fun and rewarding DIY project that can transform any event space into a festive wonderland. Whether it's a birthday party, wedding, or baby shower, a balloon arch adds an impressive touch to your decor. This tutorial will guide you through the steps to craft your own spectacular balloon arch, even if you're a beginner.
Gathering Your Supplies
Before you start, you'll need to gather some essential supplies. Here's what you'll need:
- Balloons: Choose colors that match your theme. Latex balloons in various sizes work best.
- Balloon Pump: A hand pump or electric pump can save you time and effort.
- Fishing Line or Balloon Arch Kit: To construct the arch structure.
- Command Hooks or Tape: For securing the arch in place.
- Optional: Balloon Clips for easy assembly.
Choosing the Right Balloons
Selecting the right balloons is crucial for achieving the desired look. Consider using a mix of different sizes and colors to add depth and dimension to your arch. You can also incorporate metallic or confetti-filled balloons for additional flair. For a standard-sized arch, you'll need approximately 100-150 balloons.

Building the Basic Structure
The foundation of your balloon arch can be created using a simple fishing line or a ready-made balloon arch kit. If you're using fishing line, measure your space and cut the line to the desired length, leaving extra room for adjustments. Secure one end of the line to a stable object or use command hooks to anchor it to a wall.
Inflating and Attaching Balloons
Begin inflating your balloons using a pump. It’s essential to keep the size consistent for a polished look, except when intentionally using different sizes for visual interest. Tie the inflated balloons in pairs, then twist two pairs together to form a cluster of four.
Attach these clusters to your fishing line or arch frame by twisting them around the line, ensuring they're tightly secured. Continue adding clusters, alternating colors and sizes as desired until your arch reaches the desired fullness.
Securing and Styling Your Arch
Once your arch is fully assembled, it's time to position and secure it in place. Use command hooks or tape to attach it to walls or ceilings if necessary. Ensure the arch is stable and won't move during your event.
Adding Final Touches
To enhance the appearance of your balloon arch, consider adding greenery, flowers, or ribbons. These elements can be intertwined with the balloons for an extra layer of sophistication. Additionally, consider adding lighting effects with LED lights or fairy lights for an evening event.

With these steps completed, you've successfully created your own DIY balloon arch! This eye-catching piece will undoubtedly impress your guests and provide the perfect backdrop for memorable photos. Remember, the key to a successful balloon arch is creativity and patience, so don’t rush the process. Enjoy crafting your beautiful decor!